Understanding Vapor Barrier Installation
What is a Vapor Barrier?
A vapor barrier is a material used to prevent moisture from penetrating walls, floors, and ceilings, particularly in crawl spaces and basements. Typically made from polyethylene plastic or other synthetic materials, vapor barriers function as a barrier against groundwater and humidity, which can seep through and cause potential damage to your home’s structure over time. Knowledge of vapor barrier installation is critical, especially in areas prone to high moisture levels.
Importance of Vapor Barrier Installation
The importance of Vapor Barrier Installation cannot be overstated. Proper installation significantly impacts the health and longevity of your home. It prevents mold growth, protects insulation, and avoids structural damage. Without a vapor barrier, moisture can lead to the deterioration of materials, while promoting a conducive environment for mold and pests. Investing in a good vapor barrier helps to maintain a healthy living environment and protects one’s financial investment.
Types of Vapor Barriers
Several types of vapor barriers are available, each suited for different applications:
- Plastic Sheeting: Typically made from high-density polyethylene (HDPE), it’s lightweight and cost-effective, suitable for most residential applications.
- Foil Barriers: These consist of aluminum foil bonded to a layer of insulation, effective in reflecting radiant heat and minimizing moisture transfer.
- Permeable Membranes: Designed for specific climate conditions, these allow moisture to escape while still protecting against external moisture.
Benefits of Proper Vapor Barrier Installation
Moisture Control
The primary benefit of proper vapor barrier installation is moisture control. By preventing moisture from entering the crawl space, you safeguard the structural integrity of your home. This control not only protects against standing water but also combats high humidity, which can lead to condensation and ultimately mold proliferation.
Energy Efficiency Enhancement
A well-installed vapor barrier contributes to energy efficiency by providing an additional layer of insulation. By minimizing moisture and maintaining a more stable temperature in crawl spaces, your HVAC system can operate more efficiently, leading to lower energy bills and a more comfortable home environment.
Health Improvements in Indoor Air Quality
Moisture issues are often associated with poor indoor air quality. A proper vapor barrier reduces the presence of mold spores and allergens in the air. This can lead to fewer respiratory problems, making your home a healthier place, especially for the elderly, children, or anyone with existing health issues.
Steps for Effective Vapor Barrier Installation
Preparing the Crawl Space
Preparation is key to effective vapor barrier installation. Begin by clearing the crawl space of any debris, old insulation, or items that may obstruct the installation process. It’s essential to ensure the area is dry and that any existing water issues are addressed. Checking for proper drainage and fixing leaks is crucial to avoid future moisture problems.
Materials and Tools Required
To install a vapor barrier, you’ll need specific materials and tools. The basic materials include vapor barrier sheets (ideally 6 mil or thicker), adhesive or tape for sealing seams, and possibly insulation if additional warmth is needed. Needed tools typically include a utility knife, scissors, heavy-duty staples, or a staple gun, and safety gear such as gloves and goggles.
Installation Techniques and Best Practices
The installation of a vapor barrier involves several critical steps:
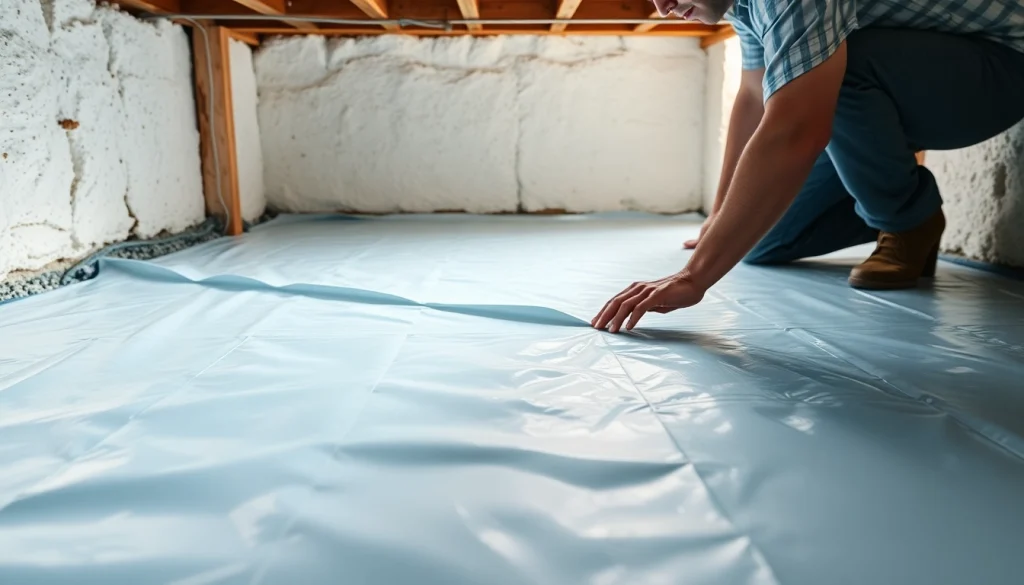
- Lay Out the Vapor Barrier: Begin by laying the vapor barrier material on the ground, ensuring it covers the entire floor area of the crawl space.
- Seal the Seams: Overlap seams by at least 12 inches and use tape or adhesive to secure them, ensuring a watertight seal.
- Secure the Edges: Use heavy-duty staples to secure the barrier to the walls to ensure it remains in place, preventing any potential lifting or movement.
- Inspect: After installation, inspect the entire area for any gaps or weaknesses and address them immediately.
Common Challenges in Vapor Barrier Installation
Identifying Problem Areas
Identifying problem areas in a crawl space can be challenging. Look for signs of dampness, mold, or water stains. Check for insulation that appears water-logged or performance-diminished as these can indicate potential moisture ingress and need for immediate action.
Dealing with Existing Moisture
Before installing a vapor barrier, existing moisture problems must be effectively managed. Consider utilizing dehumidifiers or sump pumps to reduce humidity levels before and during installation. In areas prone to flooding, a combination of drainage solutions and barrier installation may be necessary.
Ensuring Proper Sealing Methods
Proper sealing methods are crucial for the effectiveness of a vapor barrier. Use high-quality tapes and adhesives designed for vapor barriers to ensure durability and moisture resistance. Inspections before and after installation can identify any weak spots.
Frequently Asked Questions About Vapor Barrier Installation
How does a vapor barrier prevent moisture problems?
A vapor barrier blocks moisture from the ground from infiltrating your home, reducing humidity and preventing mold.
What materials are best for a vapor barrier?
High-density polyethylene (HPDE) is commonly recommended due to its effectiveness and durability.
Is vapor barrier installation necessary in all climates?
While it’s crucial in humid climates, even in dry areas, it can benefit by preventing condensation.
Can I install a vapor barrier myself?
Yes, with the right tools and following proper guidelines, a DIY installation is feasible for homeowners.
How long does a vapor barrier last?
A high-quality vapor barrier can last for many years, but regular inspections are essential for long-term effectiveness.